The only major component I've added thus far is a barrel made by the hands of Tony Kidd. They come highly recommended on every gun board that I've visited, so I ordered an 18" bead blasted barrel and set about installing it. Here's a picture of the gun with the stock skinny barrel, with the Kidd barrel next to it:
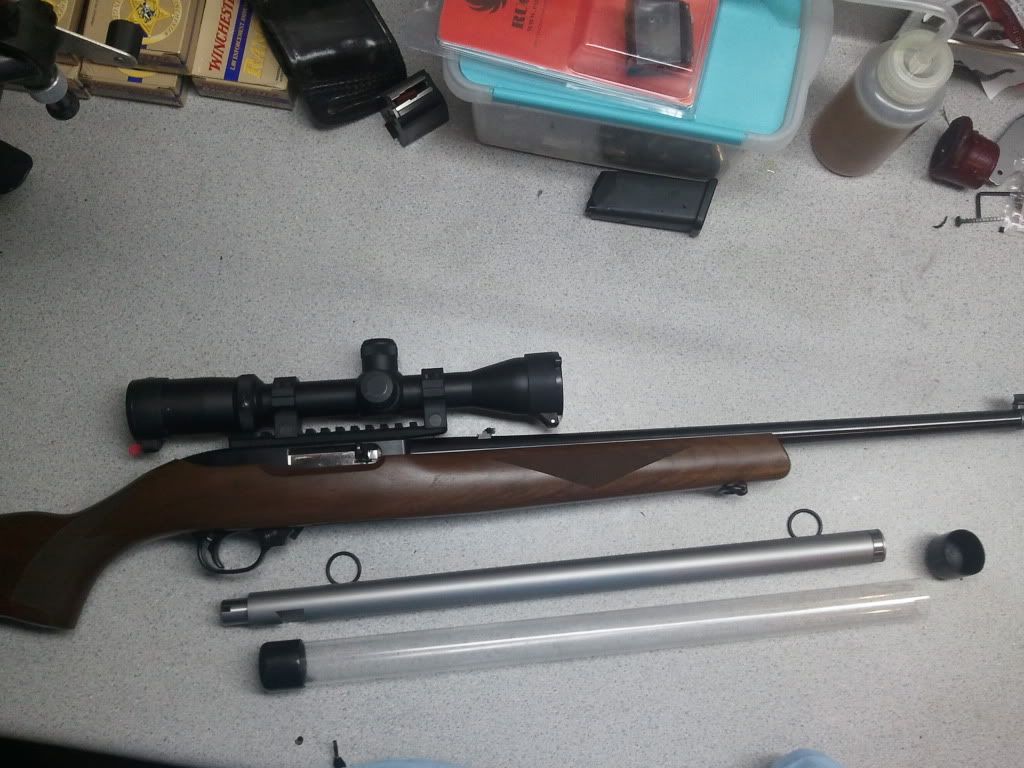
The barrel came in a plastic tube with two rubber grommets on it to keep it centered. One of the first obstacles to overcome is that the stock's barrel channel is cut to fit tight against the skinny barrel, and will have to be relieved to accept the Kidd barrel's .920" girth. I don't have pictures of that, but I used a half-round file and a 1/2" drive socket + extention wrapped in 60 grit sandpaper to open that channel up, and it took considerable effort and several hours to do. It looks good though.
The next thing to do is to add some sort of metal bedding block for the receiver to rest on. From the factory, there is a brass escutcheon with a bolt that rides through it that connects the barreled action to the stock, but the problem with that is that the action rests on wood, and over time the wood gets compressed in that area. Adding a metal block that ties into the escutcheon and floats the receiver above the stock will help in accuracy. I went to the hardware section of Lowes and picked up this furnature T-nut:
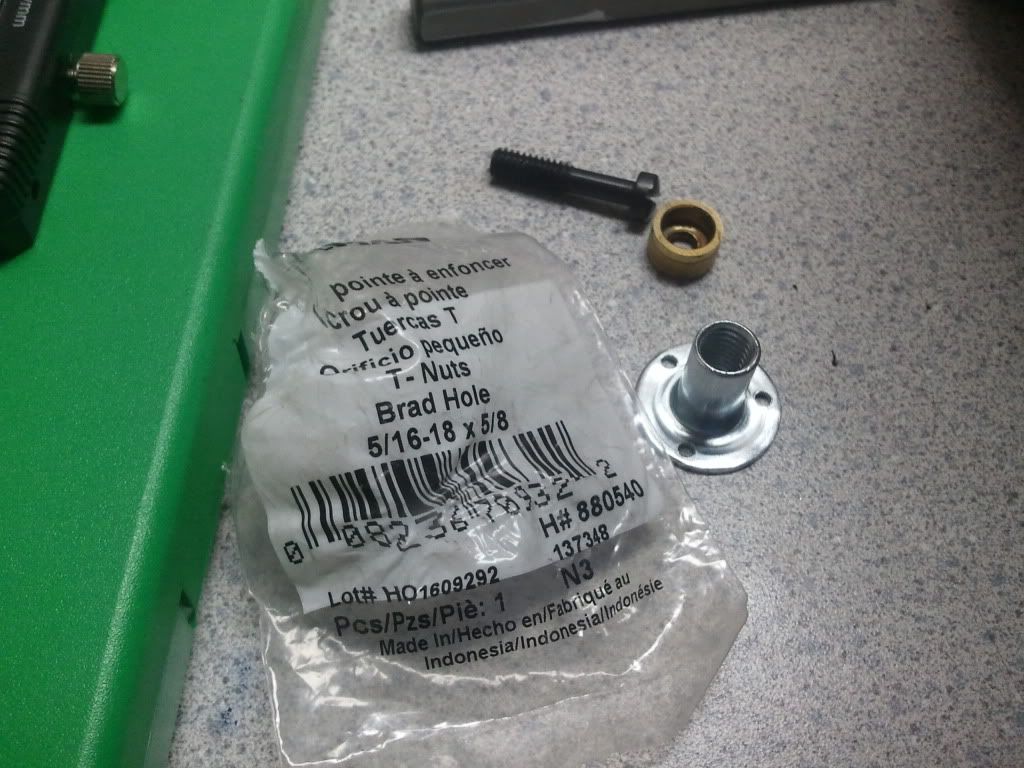
It literally matched my measurements within a few thousandths of an inch, so there was little work for me to do to make it fit. You can see in the photo (click to make bigger) the brass escutcheon and takedown screw.
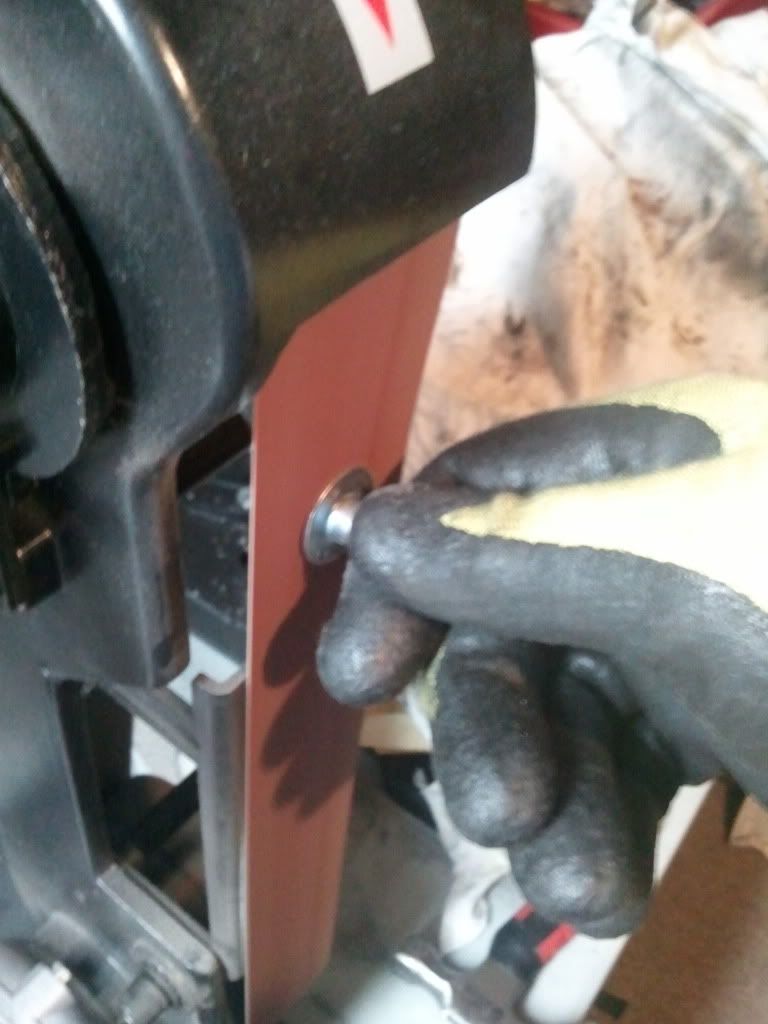
Before installing the T-nut, I trued up the surface of it on a belt grinder before carefully taking off the .030" from the bottom for a perfect fit:
I then had to drill out the takedown hole in the stock a bit so that the T-nut would fit:
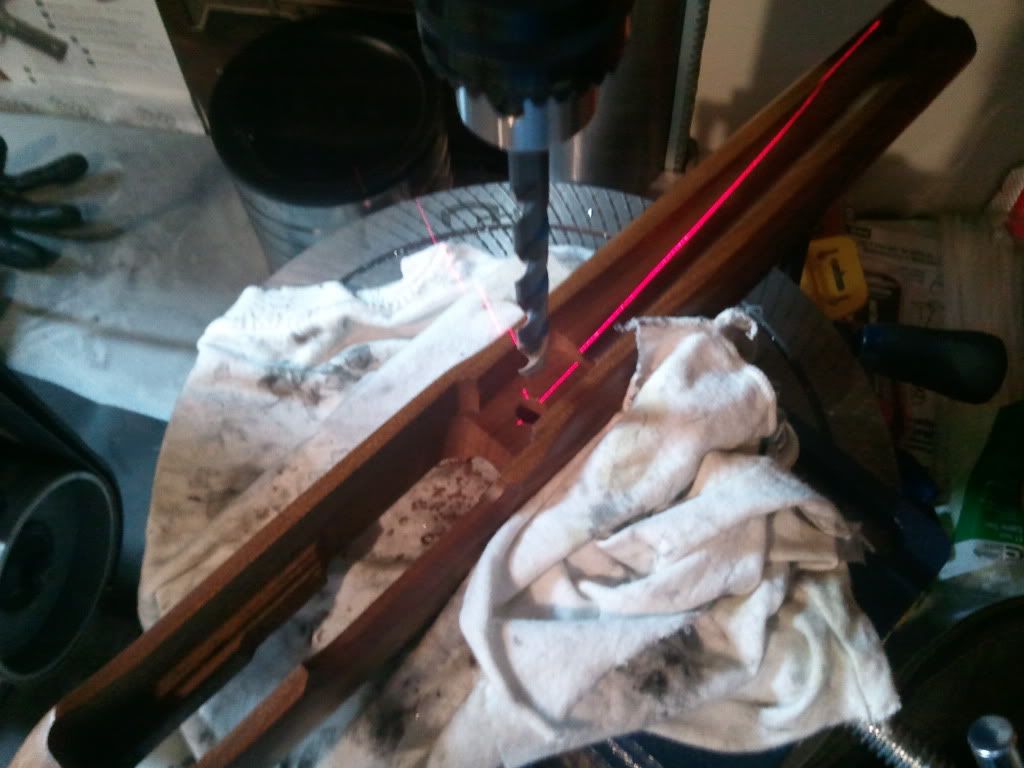
I don't recall the bit size, but I used a piece of 120 grit sandpaper wrapped around a brass punch to slowly and carefully open the hole bigger than the T-nut to make room for the JB Weld that I used to permanently glue it in. I counter sank the T-nut about .020" using a 5/8" forster bit, and noticed that despite my leveling the stock in the drill press, the stock wasn't completely true. To counter that, I skimmed the JB Weld under the head of the T-nut to make it true, but it still didn't matter; once I placed the receiver down into the stock, it was only resting on a small portion of the T-nut, and would rock back and forth on it even when I tightened the takedown screw. I took a small piece of 120 grit sandpaper and started taking down the high sections on the top of the T-nut to make the action sit flat, and would occasionally use shoe polish to witness where the contact points were:
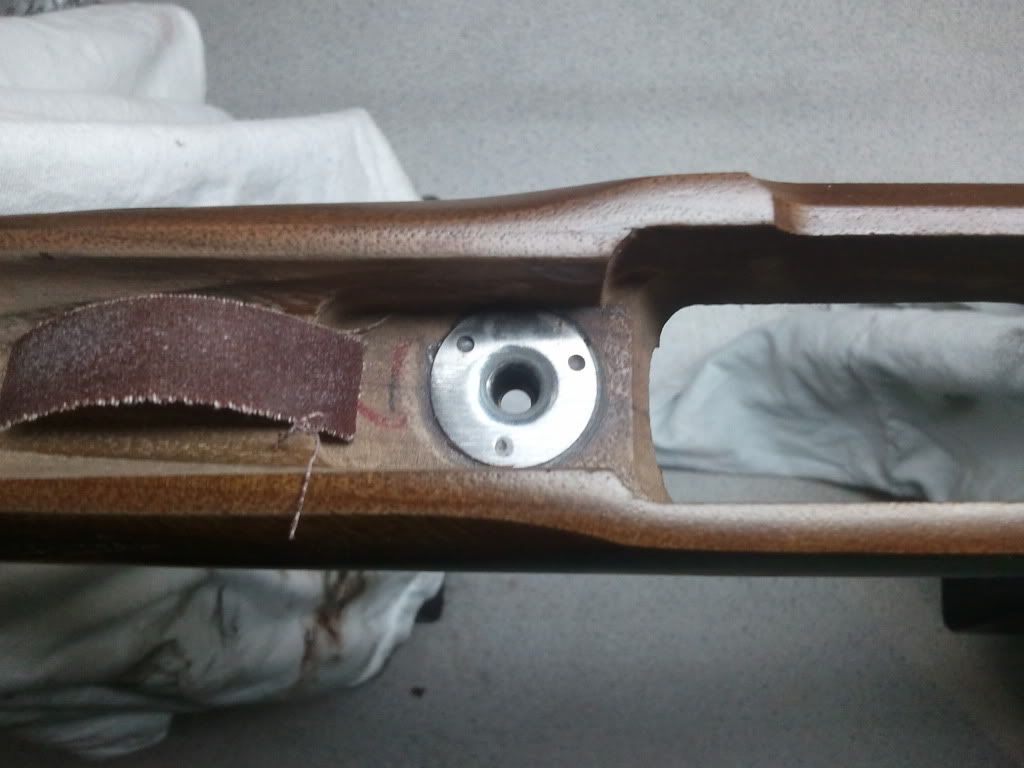
I found out that part of the problem was the glob of dried black factory paint on the underside of the receiver, so I sanded that off and made it flat. It was a pain in the ass to keep mounting the receiver in the stock to check for a fit, but I only wanted to do it once, so I was careful.
Once that was done, I bedded the barrel using JB Weld. There are better products to do bedding with, but I had the JB Weld sitting around already. I found the balance point on the barrel and made the bedding 2 1/2" long, using Kiwi shoe polish as a release agent. It worked great, and when I place the barreled action in the stock, it rests solid on the steel T-nut and the bedding.
A glamour pic:
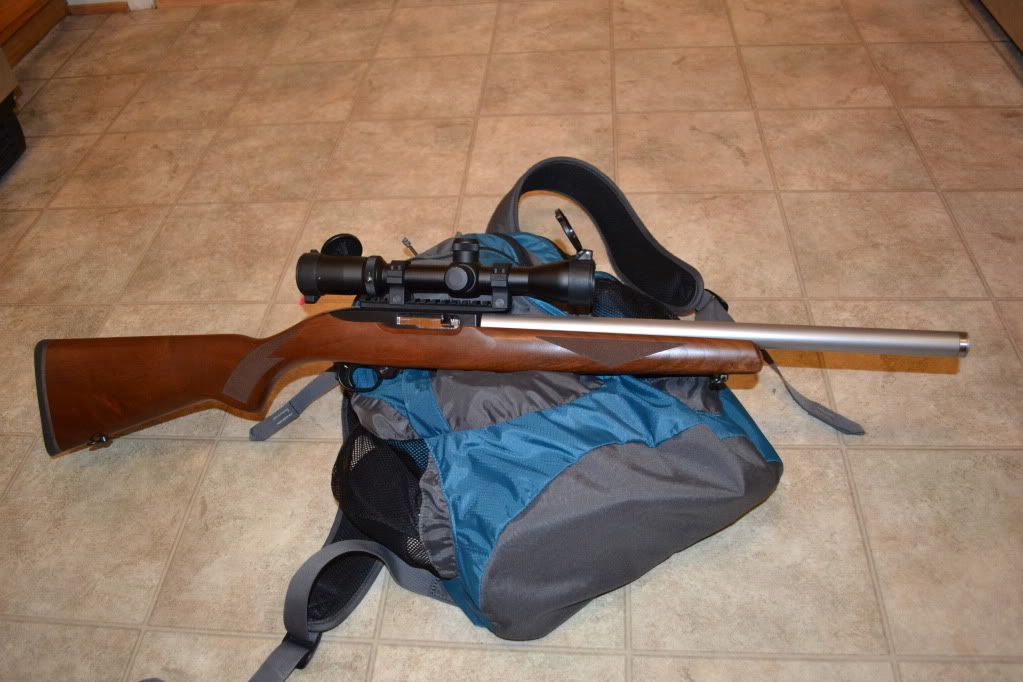
The scope on the beasty is the Burris 2-7x35 Fulfield II Tactical that I took off the AR-from-DPMS, and the rings are Brownell's low aluminum rings. That's the second pair of Brownell's rings that I've ordered -- the first pair were steel -- and I have to say that they are of excellent quality. I can't remember off the top of my head who makes the aluminum 1913 rail. The next step is to buy a trigger for it. As far as stock 10/22 triggers go, this one is among the best that I've tried, but nowhere near where I want it to be. I'll have to post the barrel bedding pictures when I do a range report; hopefully sooner than later.

4 comments:
I don't understand this. If the barrel is free-floated, why is bedding needed? Of course, there is a lot I do not understand.
The receiver is made of aluminum that's not very robust; the heavy barrel hanging off of it isn't too healthy, so it needs some support. With stock barrels, some folks report that you can "tune" your barrel to a specific load by tightening the takedown screw to a specific inch lb against the barrel bedding.
looks great! Let me know where you decide to get the trigger work done.
Very nice! I like the way you self engineered your own design for a bedding block. I'm working on two custom builds currently, and definitely plan to plagiarize your idea for an Archangel synthetic stock I'm using for one. I'm using a 20" fluted taper bbl from Green Mt, Tactical Innovations CH22 rear charging rcvr, Kidd bolt and triggerset. Any report on how this trick has held up over time, and how your build performs at the range? I plan to bed my entire receiver and 1-2" of barrel using Devcon liquid steel. Will repot back when the build is complete.
DrG
Post a Comment